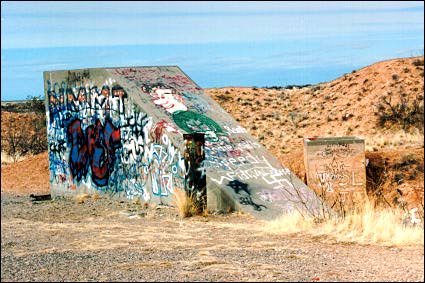
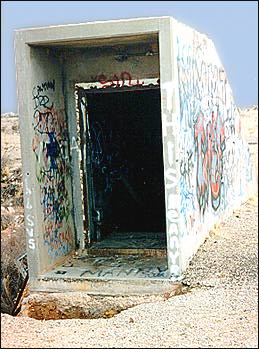
Photo 1: Approaching The Entry
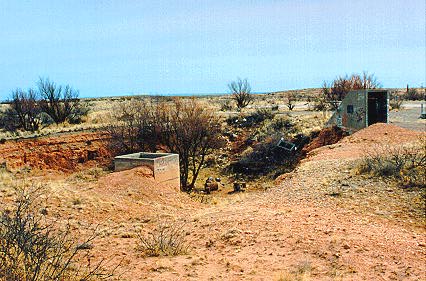
Located about 10 miles from Roswell, this site has attracted visitors with too much paint and too few brain cells. The entrance is a short distance from a main highway, but is hidden from passing traffic.Photo 2: Fueling Area
The fuel storage tanks were once located where the pit now appears. Liquid nitrogen and oxygen was stored in separate tanks. The actual missile was stored on alert with RP-1 on board. The liquid oxygen was added at the start of launch countdown, before the missile was raised on the elevator just prior to launch. A much smaller amount of liquid nitrogen was used to pressurize tanks and for other purposes.Photo 3: Antenna Cover
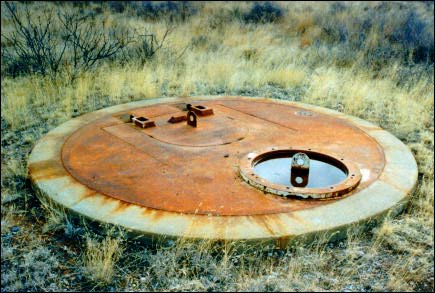
An antenna helped to provide guidance information to the missile once it was airborne. Upon firing a missile this heavy metal cover would pop open to allow an antenna to extend into the air. Photo 4: Missile Doors
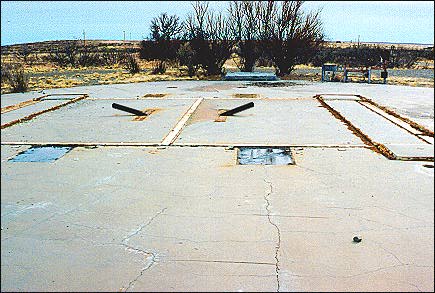
Before a missile could be fired these heavy cement and steel doors needed to be opened with powerful winches. The missile was raised to the surface and then fired.Photo 5: Entrance
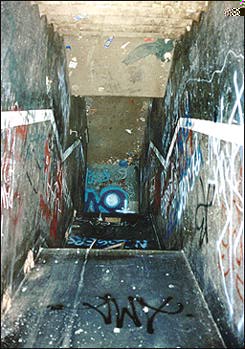
Photo 6: Main Stairway
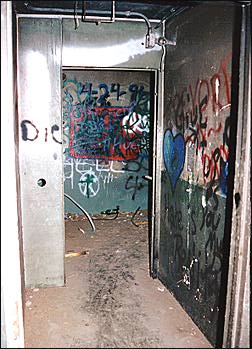
Photo 7: Hallway to first blast door
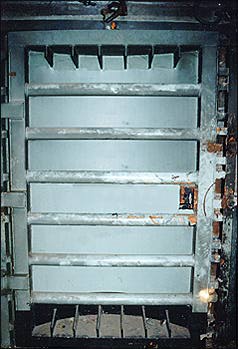
Photo 8: The Steel Blast door is sealed shut
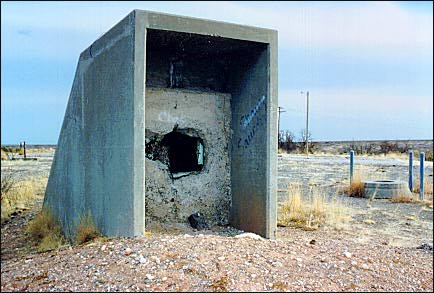
Photo 9: The Entry
Located about 25 miles from Roswell, this site is a short distance from a main highway and is visible from the road. This "hardened" area was designed to withstand a direct hit from inbound nuclear missiles.Photo 10: 4th Level - First Blast Door
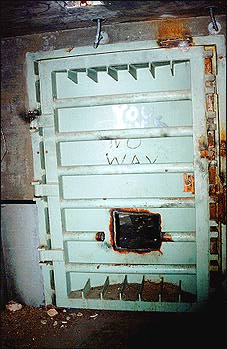
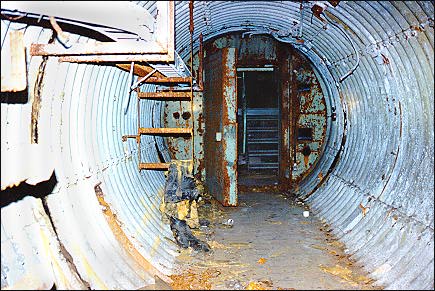
After descending the dirt covered stairway and winding through a couple short, dark, grafitti filled hallways the first blast door is visible. This thick steel door was designed to contain an explosion from within the silo. A small opening has been made by previous visitors.Photo 11: Second Blast Door
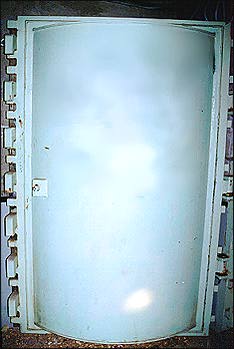
A short distance down another hallway brings us to a second blast door. This massive steel door would be impossible for an individual to use but the counterbalance design makes opening and closing the door easy for anyone. Notice the seven steel latches running along the left side of the door.Photo 12: Hall To Stairway
This short hallway runs from the second blast door to the stairway. The living area can be seen straight ahead on the third level.Photo 13: Stairway
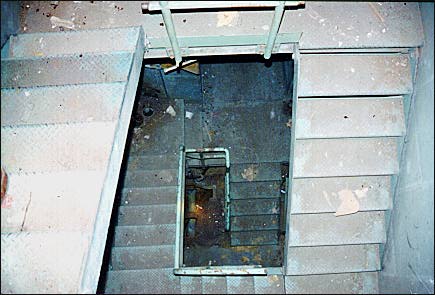
This stairway allows access to the living area (3rd level), the control area (2nd level), and the missile area (1st level) which is accessed from a short tunnel at the bottom of these stairs.Photo 14: 3rd Level - Living Area
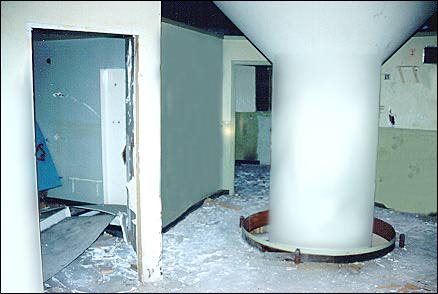
This area houses a rest room on the left and a kitchen seen behind the pillar in the middle of the room. (Image retouched to remove grafitti and damage to walls)Photo 15: Escape Hatch
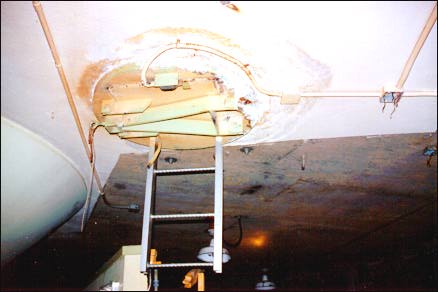
Emergency evacuation was possible through this ceiling hatch. Above the hatch was a vertical tunnel filled with sand. When the hatch was opened the sand fell to the floor providing easy access to the ladder.Photo 16: 2nd Level - Control Room
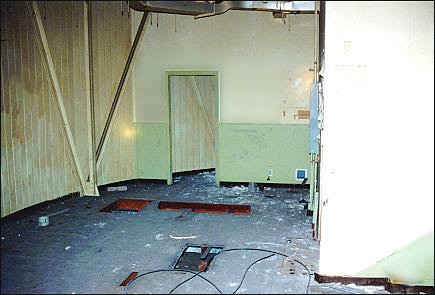
There is a gap aprox. 6" wide between the thick steel floor and the steel wall lining the room. The floor is independent of the structure and is supported by coiled springs to insulate the occupants from the shock of a blast in the silo.
Photo 17: 1st Level - Tunnel To Silo
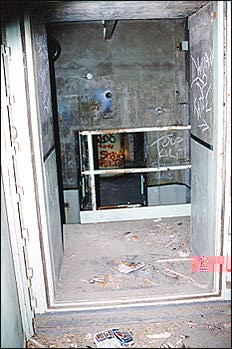
The tunnel at the bottom of the stairs leads to a sealed room and the actual missile silo. Blast doors cap each end of this tunnel. Photo 18: Silo
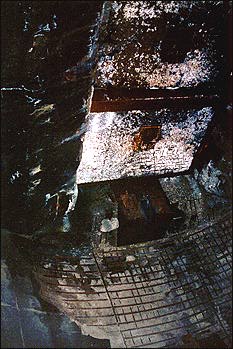
This is a view up to the top of the silo. The silo doors are visible as is a housing for the silo door opening system. The bottom of the silo has flooded with water.